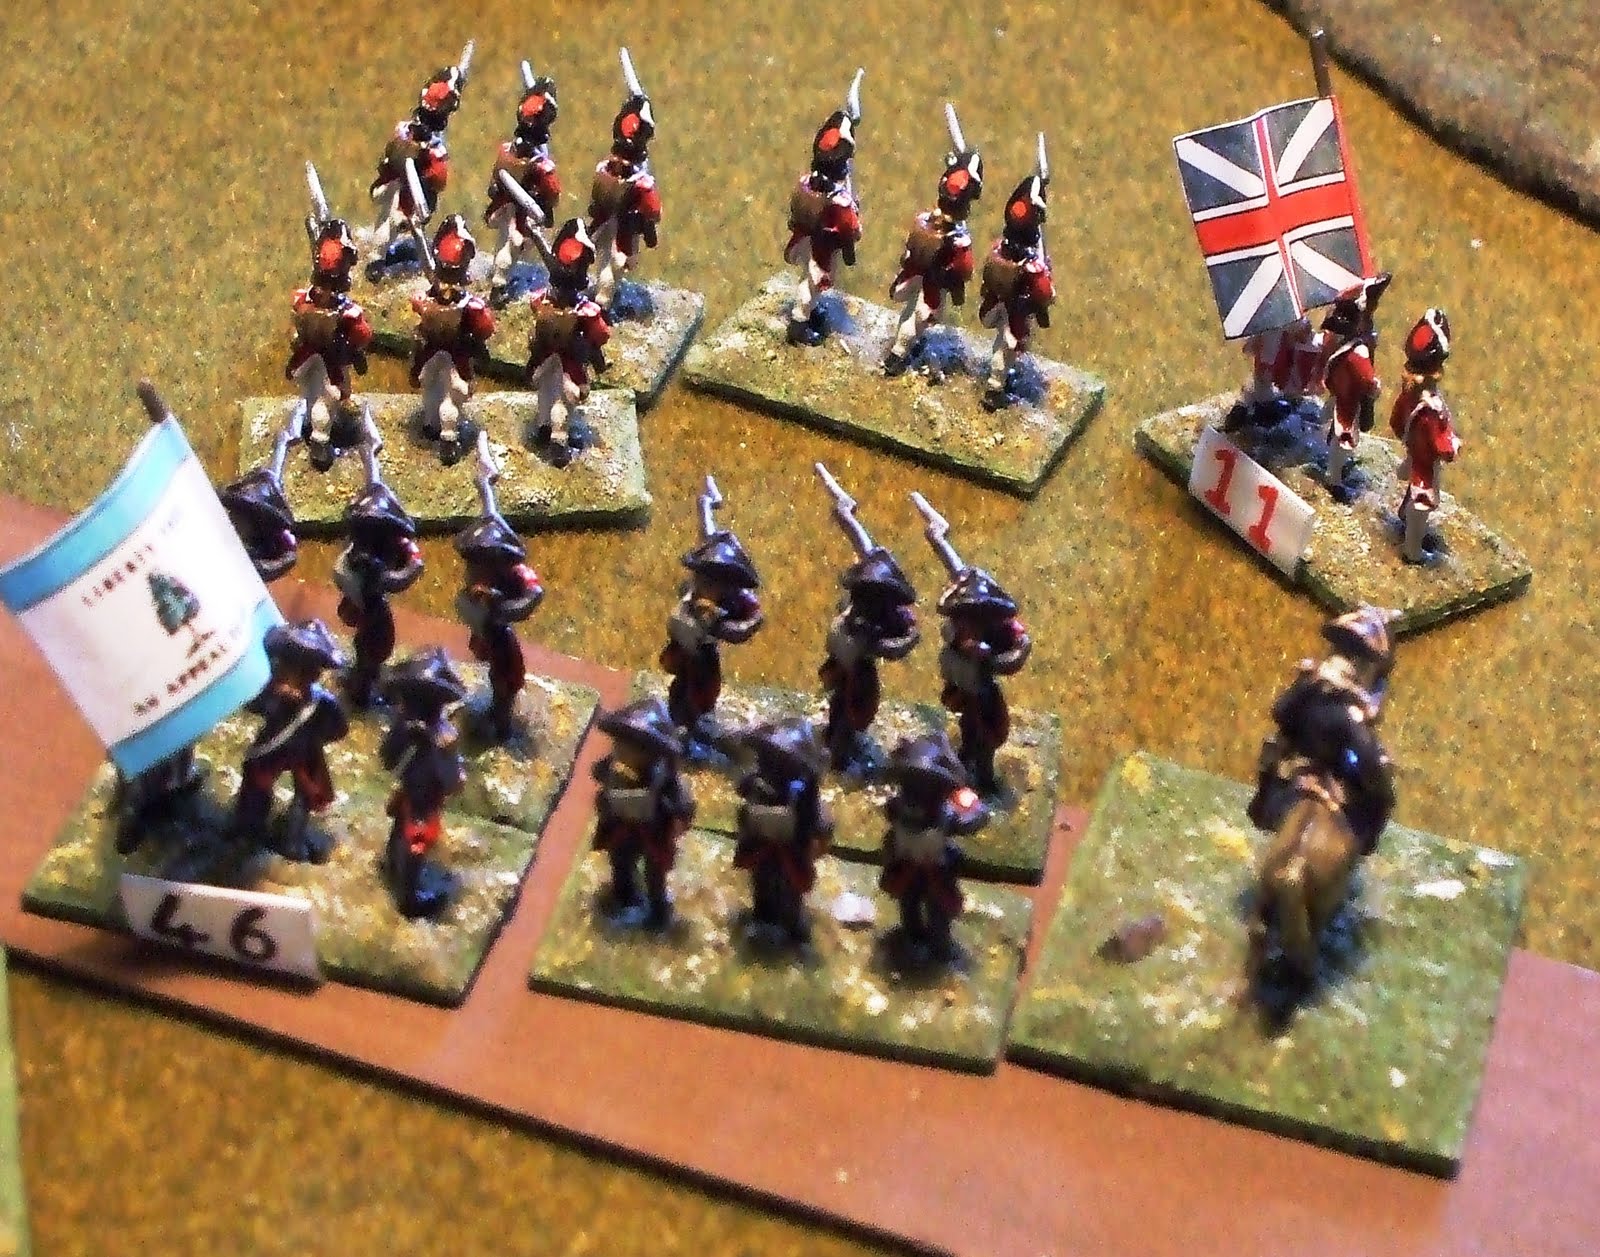
This week our battle was from the American War of Indpendence and the scenario was the rearguard action at Hubbardton following on from the capture of Fort Ticonderoga by Burgoyne. The American forces under Seth Warner had outposts near the bridge over Sucker Brook (in photograph below) and a picket on the trail leading through the hills along which any British force would advance. The main body was encamped near Hubbardton, just behind the hill on the left hand side of the photograph. Warner's orders were to delay any British pursuit and give time for the main army to reorganise. The British force was under the command of Brigadier General Simon Fraser. It comprised one unit of grenadiers, four light companies, two detatchments from the 24th Foot and a small body of Indians. Fraser's orders were to push forward quickly and disperse or destroy any 'rebel' forces he encountered. We used the computer moderated version ofWill McNally's rules for the action (http://www.freewargamesrules.co.uk/18th-century.html) which means that you are never really sure how your units are going to react.

Shortly after dawn the British light companies encountered the American picket line and the action began. The scenario required the American player to roll a 7 or more on two d6 to activate each of his units. Demonstrating a readiness to enter the action 8 out of the 10 units passed the test and began to move towards the line of the Sucker Brook. One of the British light companies pushed the American picket away to the left allowing the remainder of Fraser's command to advance towards Sucker Brook. Fraser had detached the Indians to carry out a flanking manoeuvre, they were to advance to the right, making use of the broken terrain and approach Hubbardton from the west.
As the British approached the brook they found the Americans waiting for them and they received a hot reception in the form of some telling volleys. Two British units were forced to retire to reorganise, further encouraging their oppoents. However, Warner's deployment, although maximising his firepower, meant that he had no reserve. Fraser therefore ordered the grenadiers to charge across the bridge over Sucker Brook. In a one-sided encounter, the light infantry routed towards Hubbardton, leaving the grenadiers with a foothold on the far side of the brook.

Warner's response was to pull back his two separated wings, leaving the road to Hubbardton open, but posing the major of grenadiers the problem of how to advance without exposing himself to flank attacks. In the end he decided to move to his left and try and secure the hill to protect the flank of any advance on Hubbardton. Combining with one of the light companies the grenadiers moved to attack the American units on Warner's right. Again they were successful and both American units routed, but Warner's reserve units had now moved forward and they threatened the flank of the grenadiers. Facing about, the grenadier's rather ragged volley was not sufficient to halt the American charge, led in person by Warner, and now it was the grenadiers who were routing!


Warner's response was to pull back his two separated wings, leaving the road to Hubbardton open, but posing the major of grenadiers the problem of how to advance without exposing himself to flank attacks. In the end he decided to move to his left and try and secure the hill to protect the flank of any advance on Hubbardton. Combining with one of the light companies the grenadiers moved to attack the American units on Warner's right. Again they were successful and both American units routed, but Warner's reserve units had now moved forward and they threatened the flank of the grenadiers. Facing about, the grenadier's rather ragged volley was not sufficient to halt the American charge, led in person by Warner, and now it was the grenadiers who were routing!

Warner now concentrated his forces, covering Hubbardton and the road to the south west, his main line of retreat. As the British advanced the Americans slowly retreated, beating back attacks by the light companies, who were now becoming disorganised after leading the attack and taking casualties. Fraser received three units of reinforcements in the form of Major Von Reidsel's jaeger's and grenadiers.
The Indians had eventually reached their intended position and charged the flank of Warner's line, but, after a fierce melee both sides had to pull back to regroup. Wary of attacking again, the Indians decided to move further to their right, searching for an open flank. An attack by the 24th Foot caused another American unit to rout, leaving Warner with only half his force still under command. The routing unit had the misfortune to cross the path of the Indians. The result was never in doubt and those who could ran for their lives. As the Indians 'mopped up' the remainder they were charged by two American units keeen to avenge their comrades. The Indians beat a hasty retreat back to the safety of the woods, but the attack had moved reserves away from the main position and the 24th attacked again, breaking the line and cutting the line of retreat for three American units. Warner's only option now was to order a general retreat across country, hoping to find a trail which would lead him to the main army which was concentrating on the town of Manchester. The troops which could have severely hampered this march, the light companies and Indians were too beaten up to pursue and so the action came to an end.
The result was as the historical event, with the Americans being forced to retreat across country and the British suffering sufficient casualties to prohibit any qctive pursuit.


