There were eight commands, four per side and I was allocated the role of Beatty and also the commander of the Egyptian forces in Wadi Yahmeen. Steve had prepared a colourful backstory for this chap, a certain Russian emigre rejoicing in the name of Alexi Kogroferov. A distinguished officer in the Tsar's army, he had fallen foul of a corrupt senior officer and had been dismissed. For a time he had pursued his passion for languages, compiling bi-lingual dictionaries as he travelled around the Middle East. In Cairo he had been recruited into the Egyptian forces fighting alongside the British and his linguistic skills had proved to be much in demand.
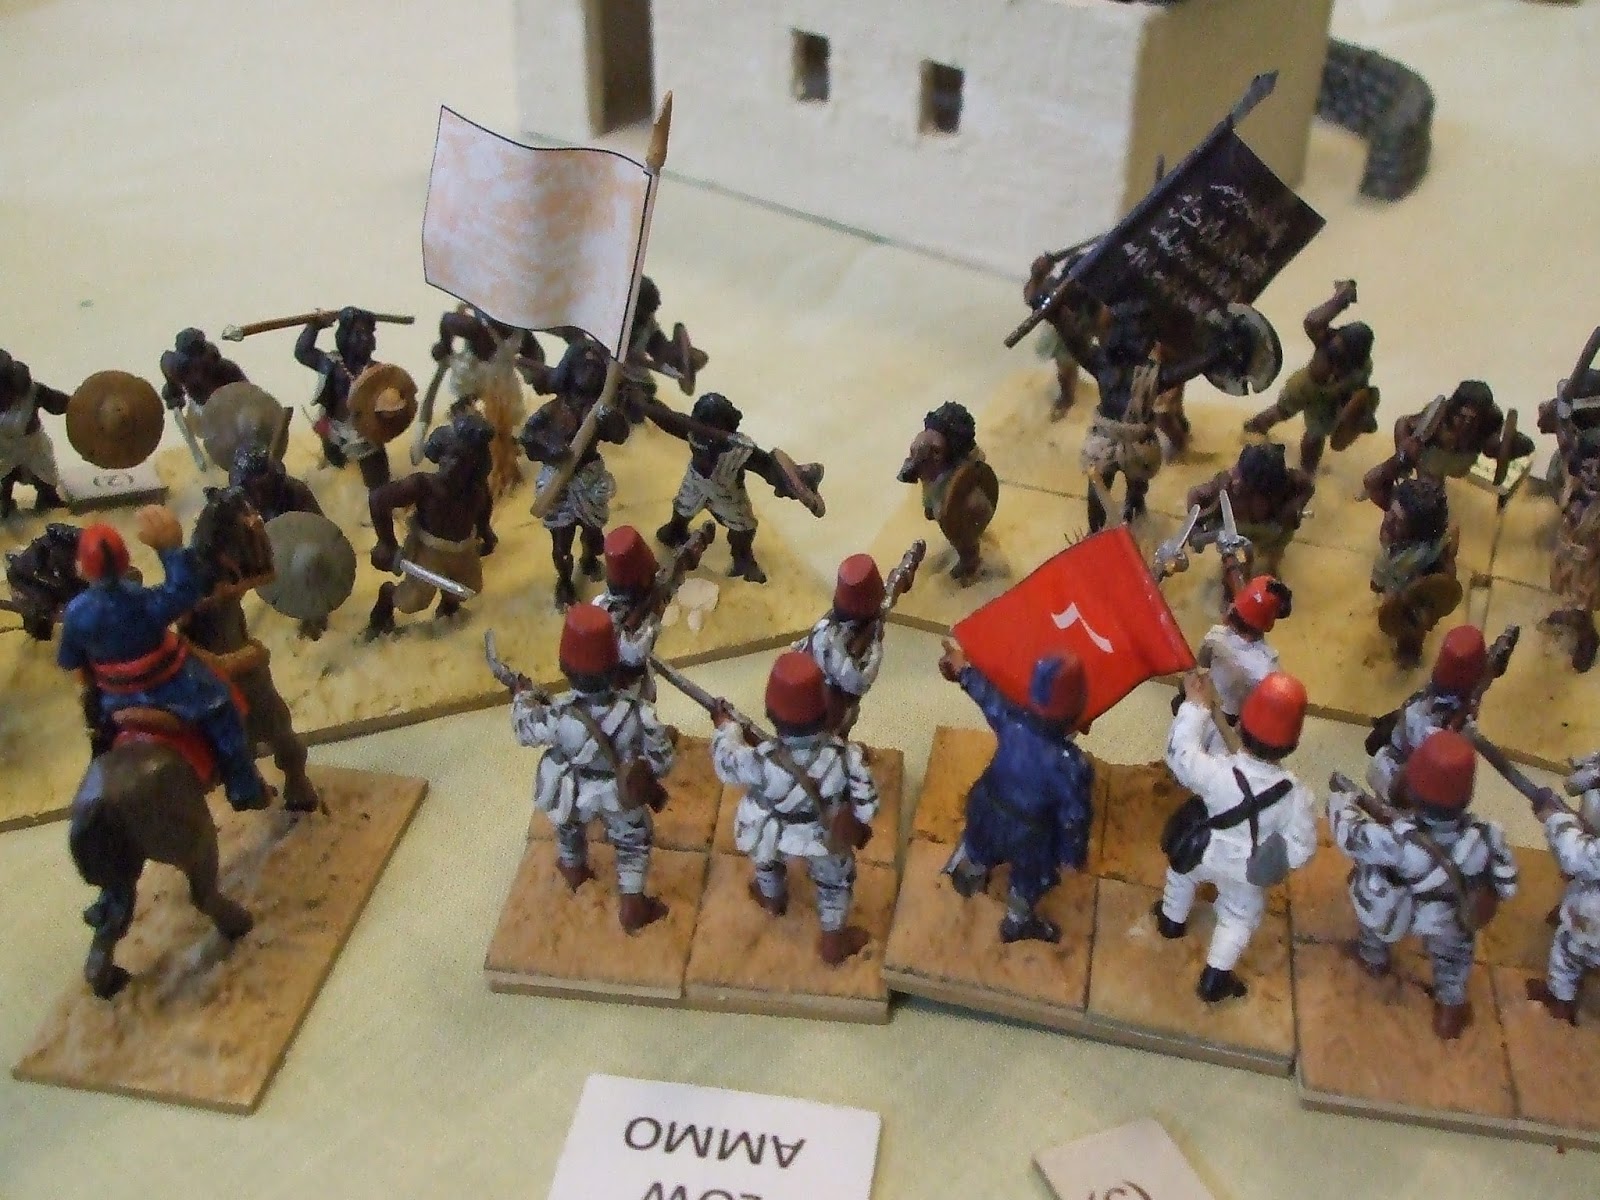
After the Turkish troops had been deployed, the Mahdists were put on the table. Usually their units are hidden, but to get everyone involved from the start of the game, everything was in 'the shop window'. There seemed to be an awful lot of Mahdists heading towards Kogroferov, including the Emir himself, but the garrison of Wadi Yahmeen managed to stop the first rush by rapid rifle fire and some rather accurate artillery support.

However, the downside to the use of 'rapid fire' was that all the defenders were now low on ammunition. Pleas for resupply were coming in from all directions and Kogroferov could not meet them all. The left flank seemed to be most at risk, so that received supplies first and also the reserve company was sent in that direction. On the right, the attack was led by the Emir in person

As he rode up and down the ranks exhorting his men to greater valour he was an obvious target. When the next attack surged forward, the Emir was in the forefront, leading by example. The fighting was fierce, with no quarter on either side, but when the Egyptians were forced back the Emir's body was found, surrounded by dead foes. Rather than disheartening the Mahdists, the loss of Emir Qat only inspired them to greater efforts.

Mahdists assaulted the village from all sides. Once again the artillery crew excelled themselves stopping one unit in its tracks. On the river, Beatty was manoeuvring the Assad towards the jetty at Wadi Yahmeen. Once there he took the decision to land one unit of Bluejackets to support the defenders. Kogroferov was glad of the reinforcements, but would they be sufficient to hold back the enemy? No sooner had the sailors reached the village square than they were met by the remnants of the Egyptian defenders all fleeing for their lives, the defence had crumbled!

Only the gunners had stood firm, firing with a speed and accuracy that lifted Kogroferov's spirits. However, ammunition was running low and a runner was sent to bring up further supplies. Before it arrived yet another Mahdist charge surged forward and this one carried on through the storm of shells. The gun crew laid about them with any weapons they could, but after a brief resistance they were overwhelmed. Kogroferov escaped, but with several wounds and he made for the safety of the Bluejackets square.


The Blue jackets were assailed from all sides by the Mahdists. Their discipline kept the square together, but they had taken heavy casualties. As the Mahdists gathered for another attack, Kogroferov was shot and wounded again and whilst he was receiving medical aid a second attack swept towards the square. Fighting for their lives the sailors upheld the finest traditions of the senior service, but eventually numbers told. The square began to dissolve, soon there were three knots of men, fighting back to back, edging towards the jetty. One by one these knots of gallant men were cut down and the fighting ceased.

From the deck of Assad Beatty could only look on as his men perished. He did not have sufficient men to retake the village so, with a heavy heart he ordered that the Assad should steam for Darmali to help the defence there. When he did arrive, he found it was too late; that garrison too had been wiped out and the Mahdists had melted back into the desert.
The game was declared a Mahdist victory, with all the Egyptian troops killed. The British had failed to get to Darmali in time, the Mahdist attacks on the train delayed them long enough for the main attack on the town to succeed.
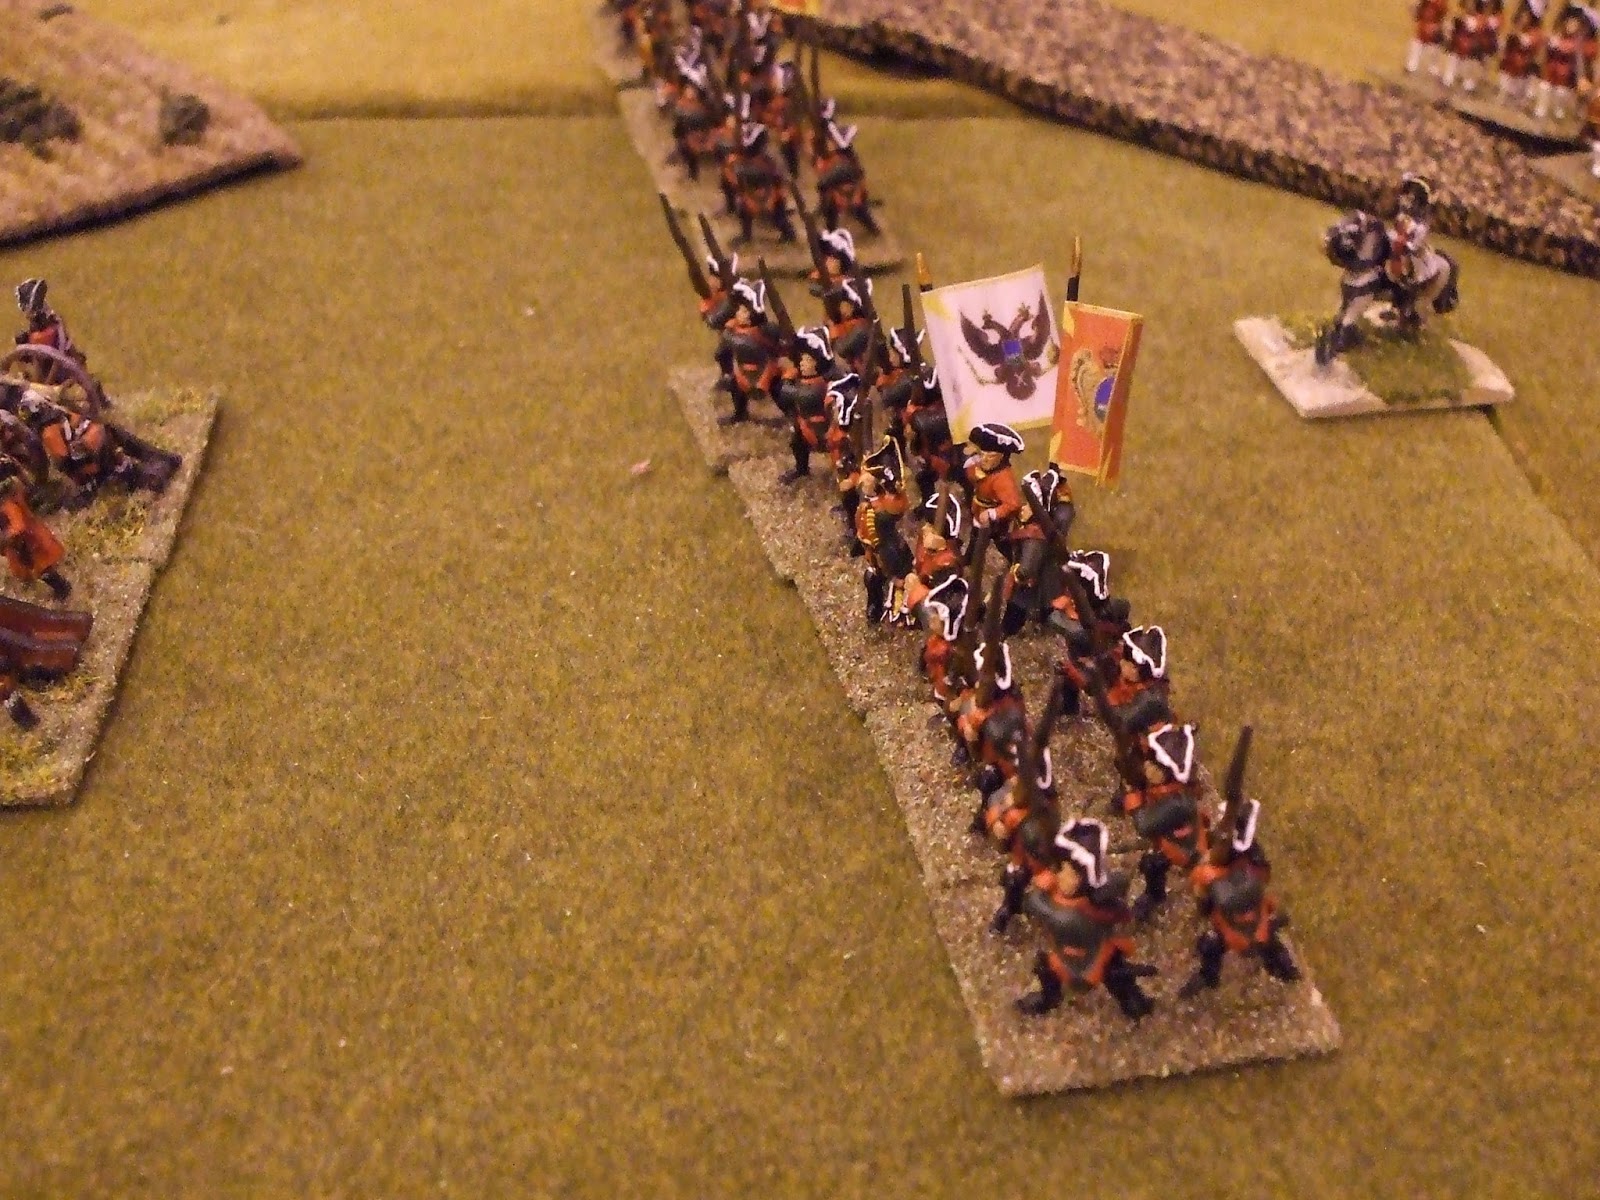
As usually happens in these multi-player games I did not have much idea how the other actions were going. Here are a few pictures of the rest of the table
 |
| The train almost at Darmali, but the first Mahdist attack is closing in |
 |
| The machine gun jammed and the crew were cut down, but the dismounted cavalry are still holding firm |
 |
| Attack on the other side of Darmali |
 |
| The British mounted infantry fighting the Mahdist cavalry |
 |
| The last stand in Darmali |