It is some time since the Grand Alliance figures ventured onto the table so this weeks action was set in this period. The French are preparing to make a further advance into Imperial territory and to this end have secured the crossing of the Schaumenwasser, a tributary of the Rhine. They intend to construct a further stone bridge to allow the main army to cross quickly, at the moment only a pontoon bridge is available. The Comte de Salle Forde is in charge of operations and has 9 battalions of infantry and 4 regiments of horse plus 3 pieces of artillery under his command. One third of his infantry are by the bridge guarding it and the medium gun emplacement. The other six battalions plus the cavalry and two light guns are deployed to face the expected Imperial attack.

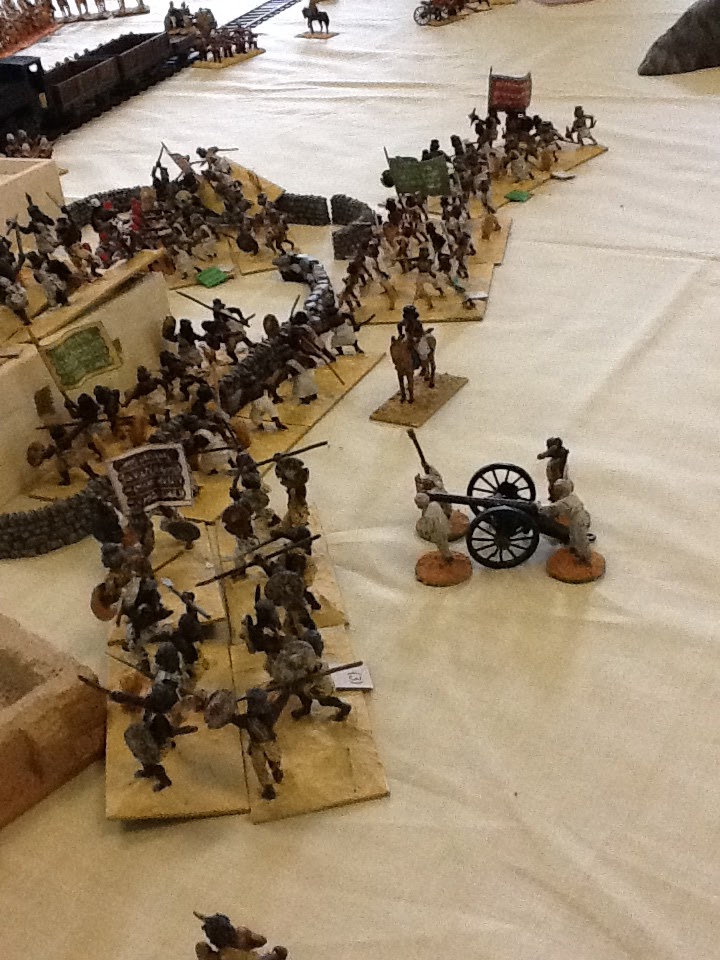
Not surprisingly the Emperor has taken a dim view of the French preparations and ordered Graf Von Grommitt to march his army to the Scheune Brucke, drive off the French forces and restore Imperial control over the Schaumenwasser crossing. To achieve this task Von Grommitt has 8 battalions of line infantry, two of grenadiers, a medium and light gun and 5 regiments of horse. He has deployed with his horse opposite their French opponents and his line infantry opposite the French centre. The grenadiers, under the command of the veteran Major General Boome are on the right, tasked with capturing the Scheune Brucke. The starting positions can be seen in the (rather blurred) photograph above. A roll of the dice decreed that Steve should take the part of Salle Forde and I that of Von Grommitt.
Von Grommitt ordered a general advance and his troops initially moved forward in an orderly way. However, the cavalry under the Duke of Hofburg - Riesling advanced too far, bringing them within charge range of the French cavalry. In the ensuing melee the French gained the upper hand, especially as the defeated Fugger regiment disordered the supporting Erbach regiment as it routed. This meant that the Erbach regiment was in it's turn defeated by the Aubusson regiment which was following up its earlier success. The Veningen Gendarmes had driven off the Vaillac regiment, but had taken heavy casualties in the process, thus preventing them from sweeping forward. Seeing this hesitation, the Spanish cavalry regiment charged the Gendarmes and in no time drove them from the field. In under half an hour 60% of Von Grommitt's cavalry was destroyed.
Meanwhile, in the centre the Hessian and Austrian infantry continued their advance. As the range closed the French light artillery began firing and then the French infantry volleys joined in. Salle Forde seemed to have given orders that his artillery concentrate on one target and the unlucky unit was Erbprinz. Casualties increased amongst the Hessian regiment's ranks and a final decisive volley from Remazy was the last straw. The Hessian regiment broke, streaming back and Von Grommitt himself galloped across the try and rally the shaken infantry.
 |
| Too much firepower for Erbprinz |
Von Grommitt managed to rally the infantry, but as he was about to return to the front, an aide arrived to say that Genral Boome's attack seemed to have stalled. Pausing only to reiterate his orders that the infantry should continue to advance, Von Grommitt headed off to the right to see what was delaying General Boome. He arrived to find that the grenadiers were standing in column waiting for their artillery to arrive. (the command dice had been particularly unkind to General Boome, he had a rating of 9, but the previous three rounds he had rolled 10 or more). Von Grommitt had a few short words with General Boome, which had the desired effect and then galloped off to the tardy artillery. Once again the 'interview' was short and the artillery captain's contribution was minimal, but the guns moved forward with exemplary speed afterwards.
As he made his way back to the centre, Von Grommit's attention was drawn to the left, where the last of Hofburg - Riesling's cavalry was fighting for their lives. All that remained were two under strength Austrian cuirassier regiments, Alt Hannover and Herbestein. Herbestein were bested by Aubusson, but inflicted such heavy casualties on the French that they were forced to fall back to reform. Alt Hannover, stood their ground and repulsed an attack by the Cuirassier du Roi, then charged in their turn. The French also stood their ground, absorbed the impetus of the charge and then drove back the Austrians. It was the French who recovered the quicker and once again the Cuirassier du Roi charged. This time they were victorious and the last of the allied cavalry were driven from the field.
 |
| Alt Hannover try and stem the tide |
Hurriedly Von Grommitt tried to put together a new left flank. Erbprinz turned to face the French cavalry and orders were sent to the remainder of the Hessian units, Lowenstein and Wartensleben to move to new positions supporting the allied gun. Fortunately for the allies the French cavalry took some time to re-organise from their exertions and a new front was formed.
However, the re-positioning of the Hessians meant that the central attack was significantly weakened. The Austrian infantry were making real progress against the French left, pushing back Rouergue and Languedoc and uncovering the temporary pontoon bridge.
 |
| The Austrian infantry attack |
Aid could not come to the French from the defenders of Scheune Brucke because they were now (at last) under attack. General Boome had sent the Hessian grenadiers forward and they had removed the obstacles from the bridge and charged over. On the far side were further obstacles and as the Hessians struggled to clear them they were charged by Solre. Caught at a disadvantage the grenadiers were forced back and reformed on the far bank of the Schaumenwasser. The Palatinate grenadiers had now deployed and they fired volleys at the d'Humieres regiment. In no time the fire of the grenadiers forced the French to fall back.
 |
| The Hessian grenadiers try and force their way over the bridge |
In the centre the fire of the allied medium gun was at last beginning to have an effect. Regiment Remazy was forced to fall back as casualties mounted and the colonel of the Palatinate Life Regiment saw a chance to break the French line. Ordering the colours to the fore he bellowed 'Charge!' and his regiment surged forward. The Comte de Salle Forde had seen the threat and ordered the Toulouse regiment to fill the gap. Just in time the French got into position to oppose the Palatinate troops. A desperate melee took place, both sides knowing the importance of the result. It was a close run thing, but the Palatinate troops had no supports to call on, whereas the French could. When the French light artillery moved onto their flank, the writing was on the wall for the Germans. Grudgingly they began to fall back, the withdrawal became a rout as musket volleys and close range artillery flayed their depleted ranks. It proved to be the high water point of the allied attack.
 |
| The Palatinate Life Regiment attack |
Although they had done well, the Austrian attack was running out of steam and the units needed time to reform. Sensing the momentum was swinging his way Salle Forde ordered his cavalry to resume the attack, starting with eliminating the allied artillery. Regiment Vaillac moved forward and manoeuvred onto the flank of the gun. Their commander ordered the charge, assuming that this would be a formality, once the gunners saw the cavalry, they would run for shelter. However, the gunners stood and fought like demons, knocking troopers from their mounts and then attacking them as they struggled to their feet. Against the odds (with the benefit of incredibly lucky dice!) the gunners drove off the cavalry who retired to lick their wounds.
 |
| The French cavalry attack |
Further to the left the remaining French cavalry lined up to attack the Hessian infantry. Ignoring the closing volleys the horsemen crashed into allied lines. On the right of the French line were the Cuirassier du Roi, facing them were Wartensleben. Perhaps weakened by their earlier attack on the French infantry, the Hessian regiment crumbled under the pressure and routed. They could not outrun the cavalry who pursued them and totally crushed them. A last desperate stand by the colonel, ensign and musketeers was short-lived and the cuirassier were able to gallop back to their lines bearing aloft the colours of the Wartensleben regiment as a trophy of war.
 |
| The Cuirassier carry off their trophy |
With a second attack by the Hessian grenadiers also failing, Von Grommitt decided that it was time to withdraw. It needed to be now, as the French would be quick to press any advantage.
Salle Forde was relieved at the victory, his main line had been severely tested and it was only the success of the cavalry which had provided the victory.